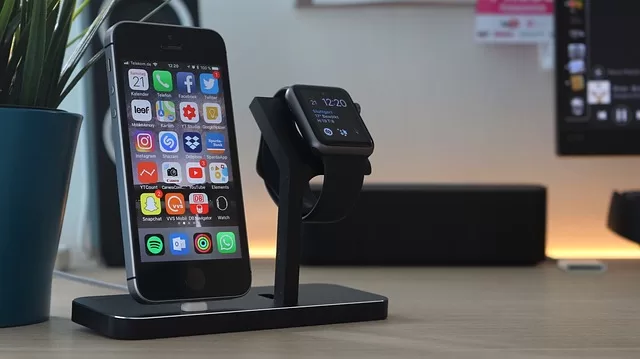
On an iPhone SE, taking a screenshot is a simple and helpful feature that can help you capture and share information, images, and anything you see on your screen. Whether you want to grab a funny moment, save a web page, or show someone a message or an app, taking a screenshot is a quick and easy way. This guide will show you how to take a screenshot on iPhone SE and share some guidelines and tricks to help you maximize this feature. But before we go further, let’s overview the iPhone SE.
In this article, I will guide you with tips and tricks on taking a screenshot on iPhone SE to help you maximize this feature.
A Look at the iPhone SE
The iPhone SE is a smartphone model Apple introduced in 2016 as a more affordable alternative to their flagship iPhone models. The device features a 4-inch Retina display, a Touch ID fingerprint sensor, and the same A9 processor used in the iPhone 6s, making it a powerful and capable device despite its smaller size. It also boasts a 12-megapixel rear camera and a 1.2-megapixel front camera for selfies and video chats. The iPhone SE runs on iOS, the same operating system used on other Apple devices, and can be updated to the latest software version.
In 2020, Apple updated the iPhone SE with the second-generation model’s release. This newer version features an improved A13 Bionic chip in the iPhone 11 and 11 Pro models. It also has a larger 4.7-inch Retina HD display and supports wireless charging. The second-generation iPhone SE retains the same 12-megapixel rear camera and 1.2-megapixel front camera as the original model, but it also supports advanced camera features like portrait mode and depth control. Like the original model, the second-generation iPhone SE runs on iOS and can be updated to the latest software version.
Overall, the iPhone SE offers a more affordable alternative for those who want to enjoy the features and capacities of an iPhone without paying top dollar for the latest flagship models. Its compact size, powerful processor, and high-quality camera make it an excellent option for those wanting a smaller smartphone that still packs a punch. Whether you opt for the original model or the updated second-generation version, the iPhone SE is a reliable and capable device that offers much value for the price.
Step-by-Step Guide On How To Screenshot On iPhone SE
In other to take a screenshot on an iPhone SE, follow these simple steps:
1. Locate the content you want to capture on your iPhone SE screen.
2. Press and hold the Side button (located on the right side of your iPhone SE) and the Volume Up button (located on the left side of your iPhone SE) simultaneously.
3. Release both buttons when you hear the camera shutter sound and see a flash on your screen.
4. Your screenshot is now saved in the Photos app on your iPhone SE. You can find it by opening the Photos app and looking for the “Screenshots” album.
Tips and Tricks for Using Screenshots on iPhone SE
Now that you know how to take a screenshot on your iPhone SE, here are some tips and maneuvers to help you get the most out of this feature:
- Once you’ve taken a screenshot, you can edit it by tapping it in the “Screenshots” album in the Photos app. From there, you can crop, annotate, or add text to your screenshot and share it with others via text message, email, or social media.
- If you need to save important information such as a confirmation number, a recipe, or a contact’s information, taking a screenshot is a great way to do it. You can then access the screenshot later in the “Screenshots” album.
- If the content you want to capture is longer than your screen, you can take a scrolling screenshot by pressing and holding the Side button and the Volume Up button, then tapping “Full Page” at the top of the screen, and it will capture the entire content and save it as a single image.
- If you find it difficult to press both buttons simultaneously, you can take a screenshot by saying, “Hey Siri, take a screenshot.” This feature is handy for people who have mobility or vision impairments.
- You can customize your screenshots by going to Settings > General > Accessibility > AssistiveTouch > Customize Top Level Menu. From there, you can add the “Screenshot” option to the menu, allowing you to take a screenshot with just one tap.
Conclusion
taking a screenshot on an iPhone SE is a quick and easy way to capture and share information, images, and anything you see on your screen. By following the simple steps outlined in this post and using the tips and tricks we’ve shared, you can make the most of this feature and enhance your iPhone SE experience.


